
There’s nothing quite as humbling—and exhilarating—as standing beneath a starlit sky, camera in hand, trying to capture the infinite beauty of the cosmos. From shimmering constellations to distant galaxies, the night sky offers some of the most breathtaking views available to us as travelers. But photographing the stars isn’t as simple as pointing and shooting—it takes preparation, the right gear, and a little technical know-how.
In this blog post, we’ll guide you through the essentials of night sky photography, making it easy for beginners and enriching for seasoned shooters. Whether you’re camping in the mountains or exploring a desert in Namibia, the cosmos is waiting to be framed—perfectly.
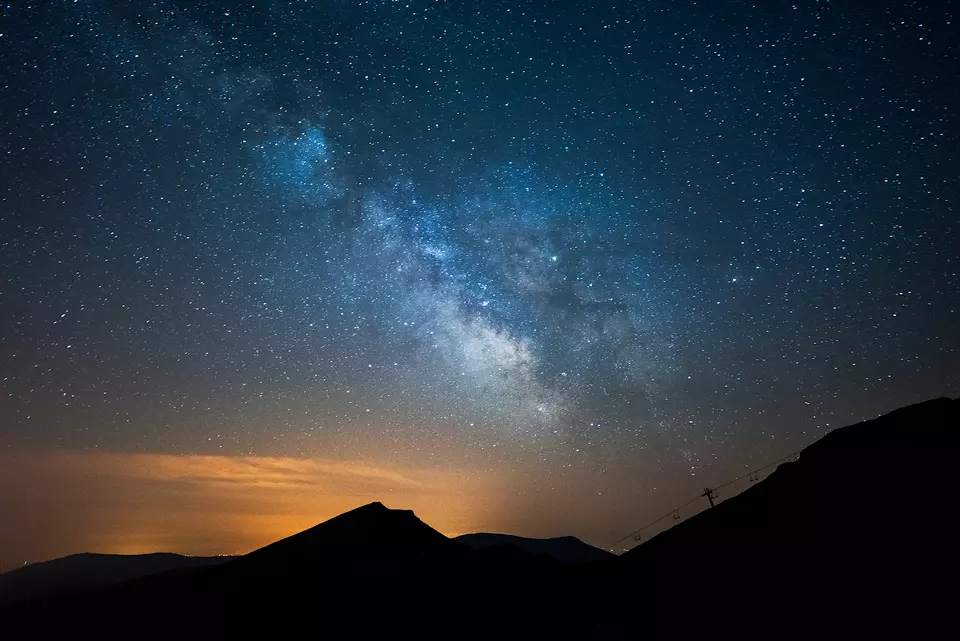
Why Travelers Are Falling in Love with Night Sky Photography
As more people crave remote adventures and quiet escapes, night sky photography has surged in popularity. Social media is flooded with Milky Way time-lapses and aurora-lit selfies—but behind every beautiful shot is a traveler who took the time to learn.
Here’s why it’s worth trying:
- It deepens your connection with nature
- You’ll visit less-populated, light-free locations
- It’s a calming, almost meditative experience
- The results are absolutely stunning
Photographing the cosmos also teaches patience and perspective—it’s a craft shaped by conditions, not control.
The Cosmos Through Your Lens: How to Prepare Before the Shoot
Before you even lift your camera, preparation is everything. The cosmos doesn’t wait around—weather, moon phases, and light pollution all play a role in what you can capture.
Checklist Before You Go:
- Scout a Dark Location: Use dark sky maps (like Light Pollution Map or Dark Site Finder) to find low-light areas. National parks and deserts are often ideal.
- Know the Moon Phase: A new moon is best for capturing stars and the Milky Way. Full moons brighten the sky and reduce star visibility.
- Check the Weather: Clear skies are essential. Apps like Clear Outside or AccuWeather help predict cloud coverage.
- Plan for the Milky Way: Use apps like Stellarium, Sky Guide, or PhotoPills to track when and where the Milky Way will be visible.
Essential Gear for Night Sky Photography
You don’t need the most expensive equipment to start, but a few specific tools can significantly improve your results.
Must-Have Equipment:
- DSLR or Mirrorless Camera: Preferably one with manual settings and good low-light performance
- Wide-Angle Lens (f/2.8 or lower): A fast lens helps capture more light and wider vistas of the cosmos
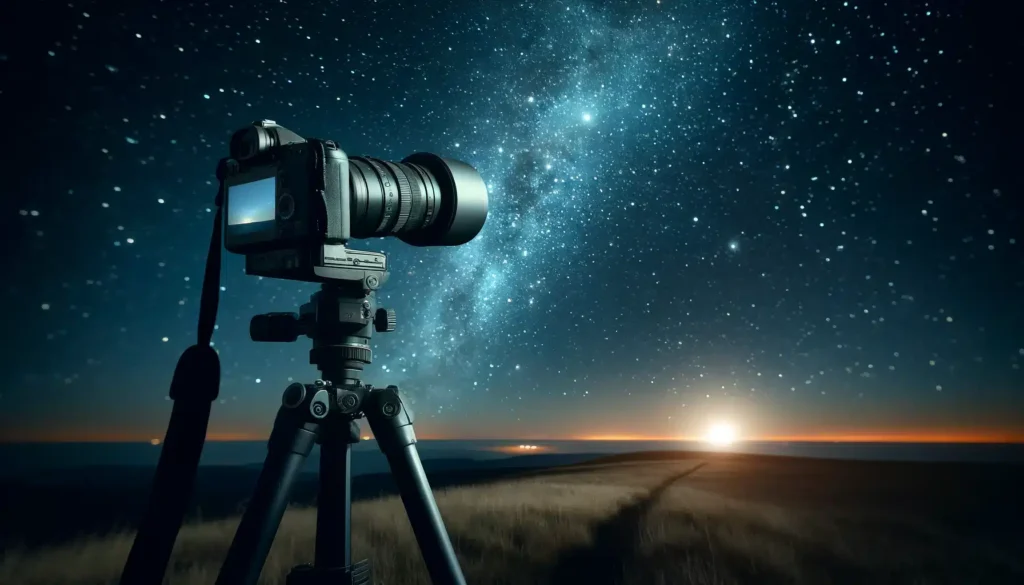
- Tripod: A sturdy tripod is non-negotiable—long exposures need absolute stillness
- Remote Shutter or Timer: Avoid camera shake by triggering the shutter remotely or using a timer
- Extra Batteries and Memory Cards: Cold night shoots drain power fast
Optional Add-ons:
- Star Tracker Mount: For longer exposure shots of galaxies or nebulae
- Red Headlamp: Preserves your night vision while setting up
- Lens Warmer: Prevents fogging in colder climates
Mastering the Settings: Get the Right Exposure for the Night Sky
Capturing the cosmos means letting in as much light as possible—without overexposing the stars or introducing too much noise.
Basic Camera Settings to Start With:
- Mode: Manual (M)
- Aperture: f/2.8 or the widest your lens allows
- Shutter Speed: Start with 15–20 seconds (use the 500 Rule: 500 ÷ focal length = max shutter speed)
- ISO: Between 1600 and 3200 depending on your camera’s performance
- Focus: Manual focus set to infinity (use Live View and zoom in to fine-tune)
Tips:
- Take multiple test shots and adjust your ISO or shutter speed
- Use the histogram on your camera to avoid underexposing or blowing out highlights
- Turn off long exposure noise reduction to speed up shooting
Composing a Stellar Shot: Add Depth to Your Cosmic Images
A photo of just the sky can be beautiful—but adding a foreground subject can make your image truly compelling.
Composition Techniques:
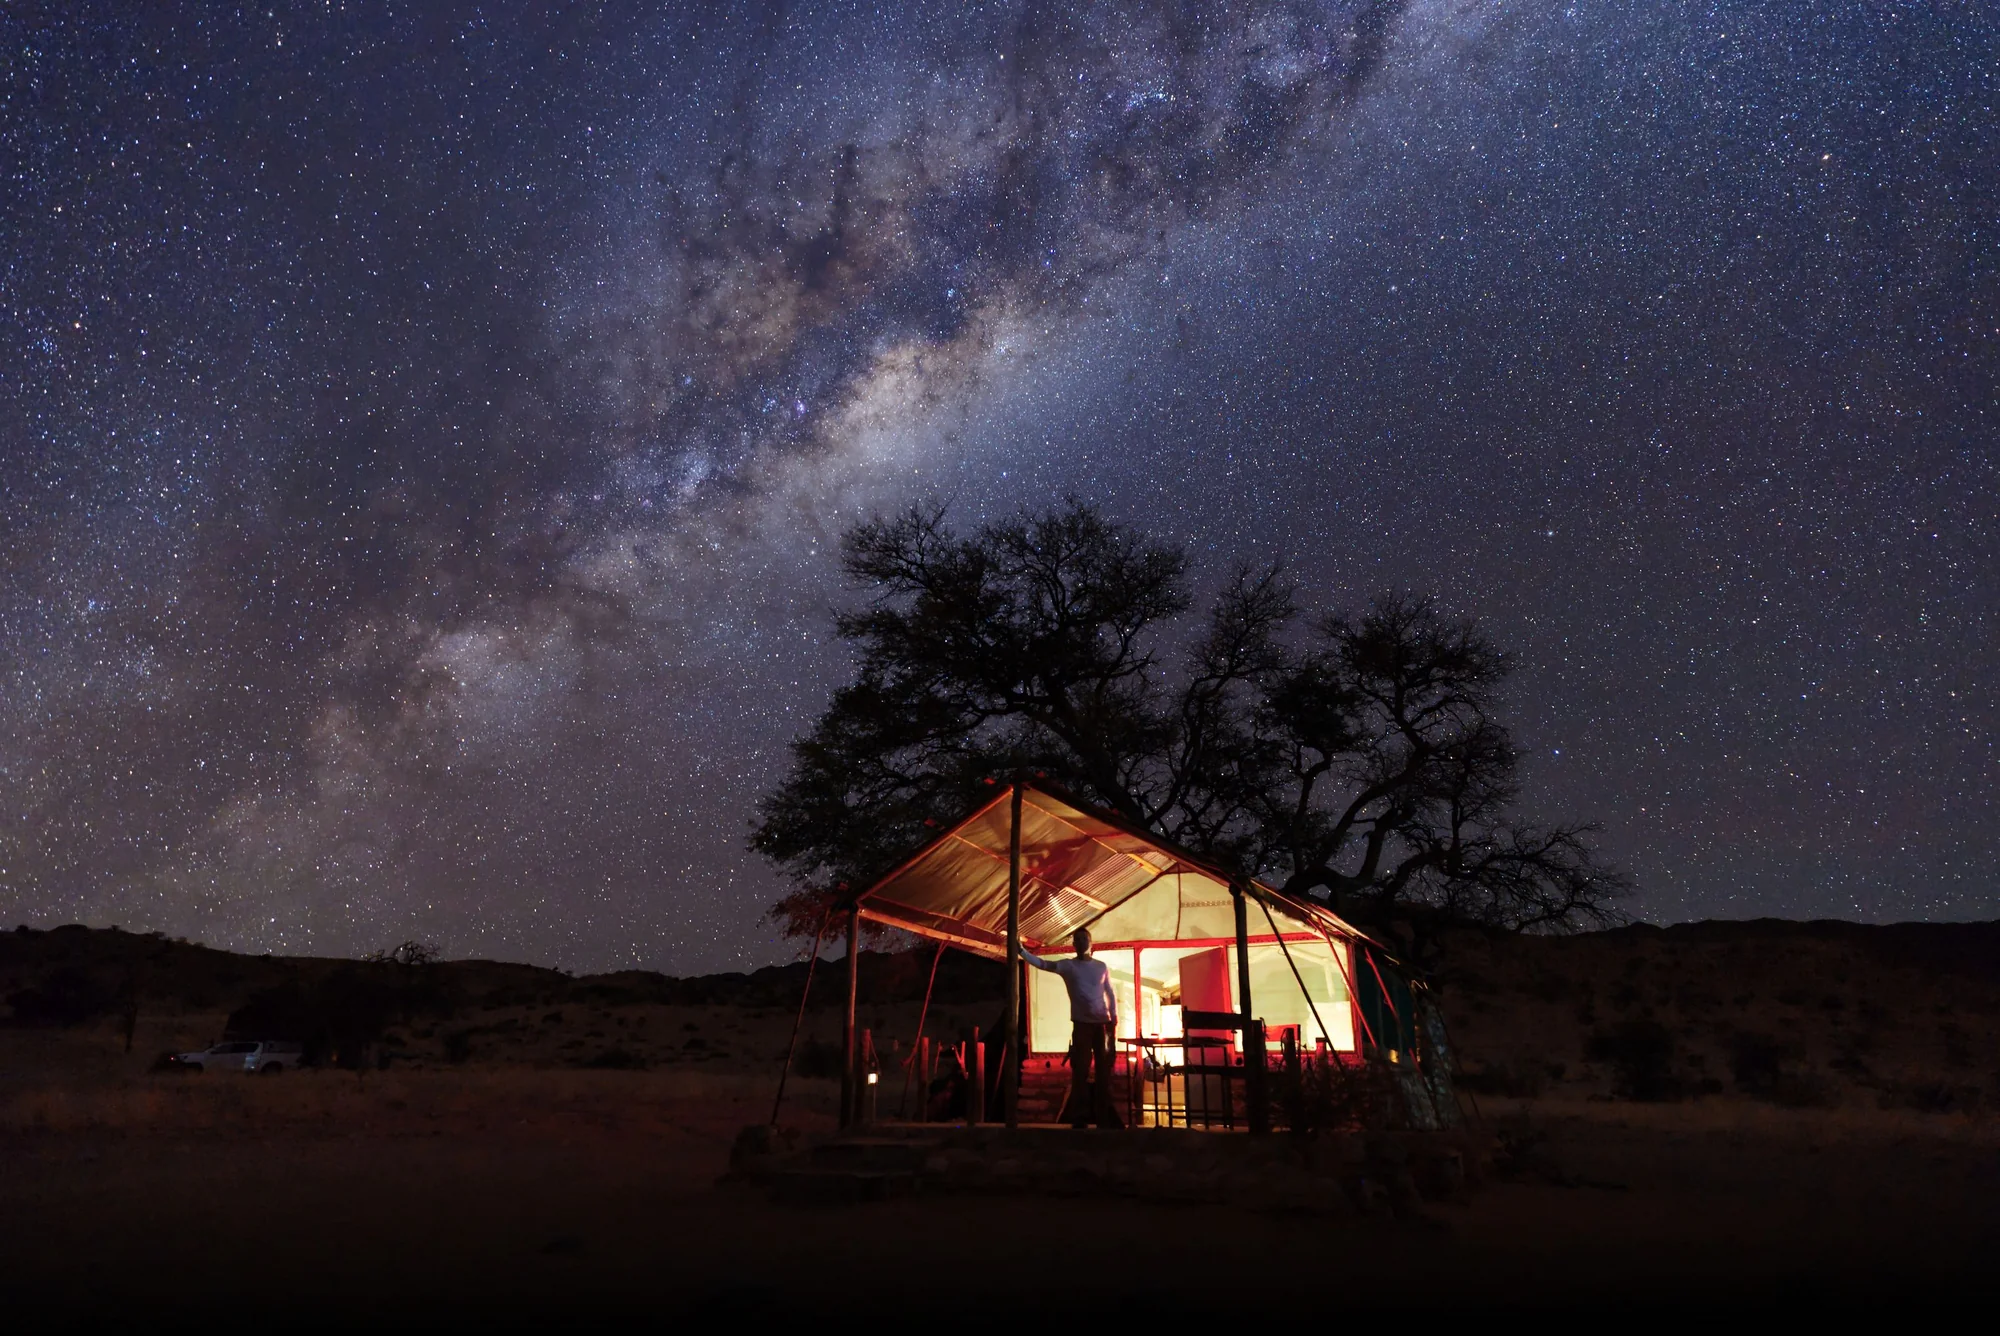
- Foreground Elements: Include mountains, trees, tents, or even yourself to anchor the scene
- Leading Lines: Roads, rivers, or fences can draw the viewer’s eye toward the sky
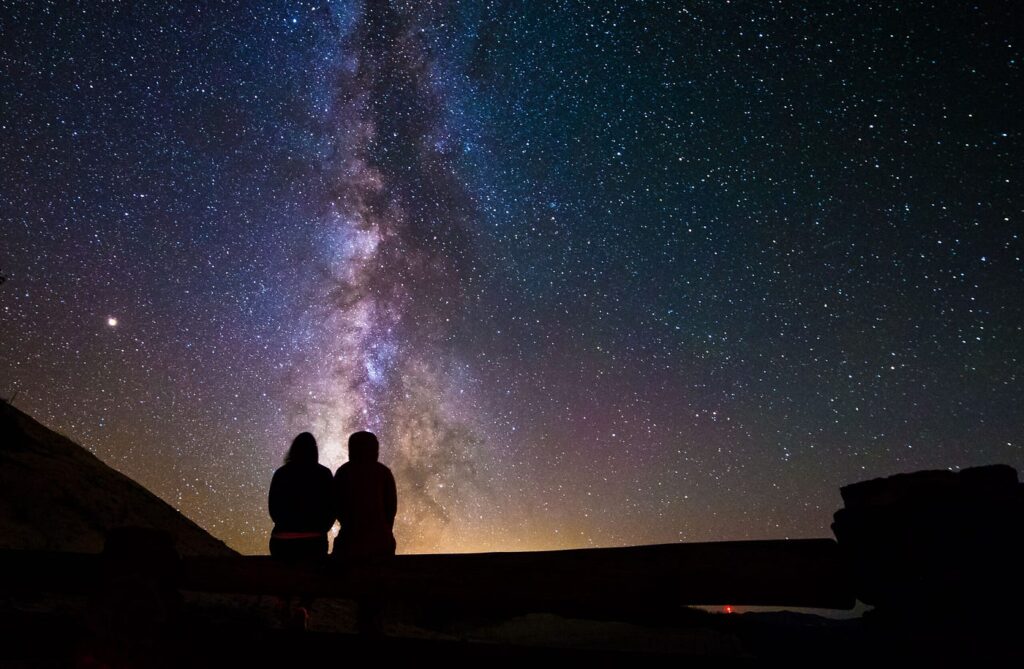
- Silhouettes: Dramatic and easy to create—just place the subject between your lens and the brightest part of the sky
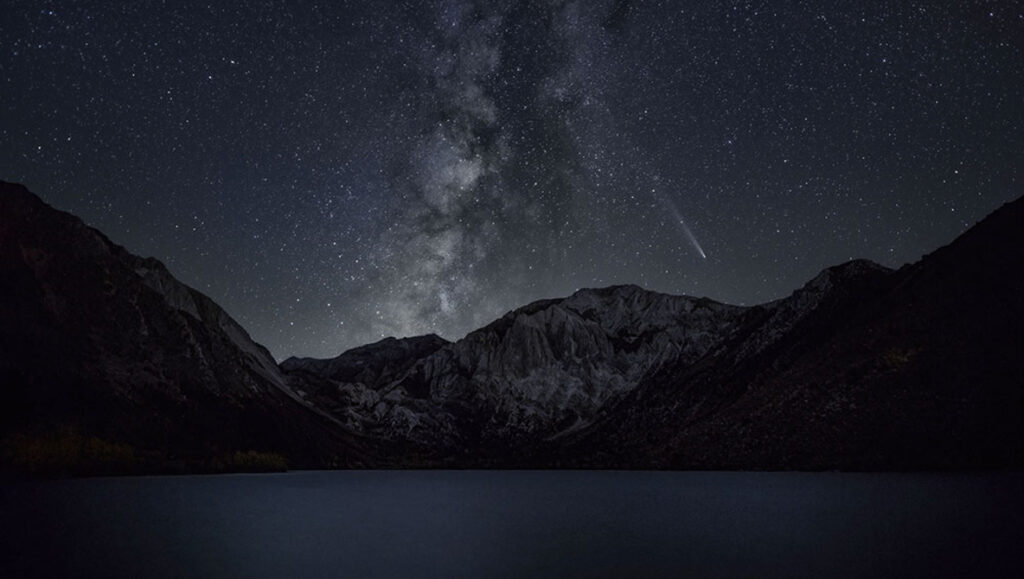
- Reflections: Lakes or puddles can mirror the stars for added magic
Rule of Thirds: Place the horizon in the top or bottom third of the frame to keep things balanced
Post-Processing: Make Your Cosmos Shots Pop
Editing is where your photo transforms from good to gallery-worthy. Even if you nailed the exposure, a little tweaking can go a long way.
Recommended Software:
- Adobe Lightroom: Excellent for color correction, noise reduction, and contrast
- Photoshop: Helpful for blending multiple exposures or fixing small details
Editing Tips:
- Boost contrast and clarity to bring out star detail
- Reduce noise carefully—don’t overdo it or you’ll lose sharpness
- Adjust white balance to reflect natural blues or purples of the night sky
- Enhance Milky Way visibility by selectively increasing exposure and highlights in that area
Top Travel Destinations for Shooting the Cosmos
Ready to take your skills global? These locations are known for their pristine night skies and cosmic beauty.
Best Places for Cosmos Photography:
- Atacama Desert, Chile – Dry skies and zero light pollution
- Jasper National Park, Canada – A certified dark sky preserve
- Namib Desert, Namibia – Stunning dunes and the Southern Hemisphere’s Milky Way
- Aoraki Mackenzie, New Zealand – One of the darkest places on Earth
- Mauna Kea, Hawaii – High altitude + clear conditions = unbeatable stars
- Ladakh, India – Altitude and remoteness make it perfect for astro-travelers
Final Thoughts: Your Journey Into the Cosmos Awaits
The universe is vast, mysterious, and ever-changing—and photographing the cosmos lets you take a piece of that wonder home with you. While night sky photography may seem intimidating at first, with the right gear, a little preparation, and some trial and error, you’ll be shooting galaxy-grade photos in no time.
Let your lens become your spaceship, and let the stars guide your journey. Because when you travel with purpose—and look up—you’re not just capturing light, you’re capturing time, infinity, and the very soul of the cosmos.


